
About
Our demo dbt repo currently offers two quickstarts: one that runs a simple dbt pipeline and one that runs a dbt pipeline from an external repo. At this time, running dbt in Mage requires Docker, so both of our demos aredocker compose based.
Prerequisites
Configuration
The following command will clone the demo repo, copydev.env to .env and run docker compose up to start Mage and a Postgres database.
Tutorial
A simple dbt pipeline
A simple dbt pipeline
First, select the 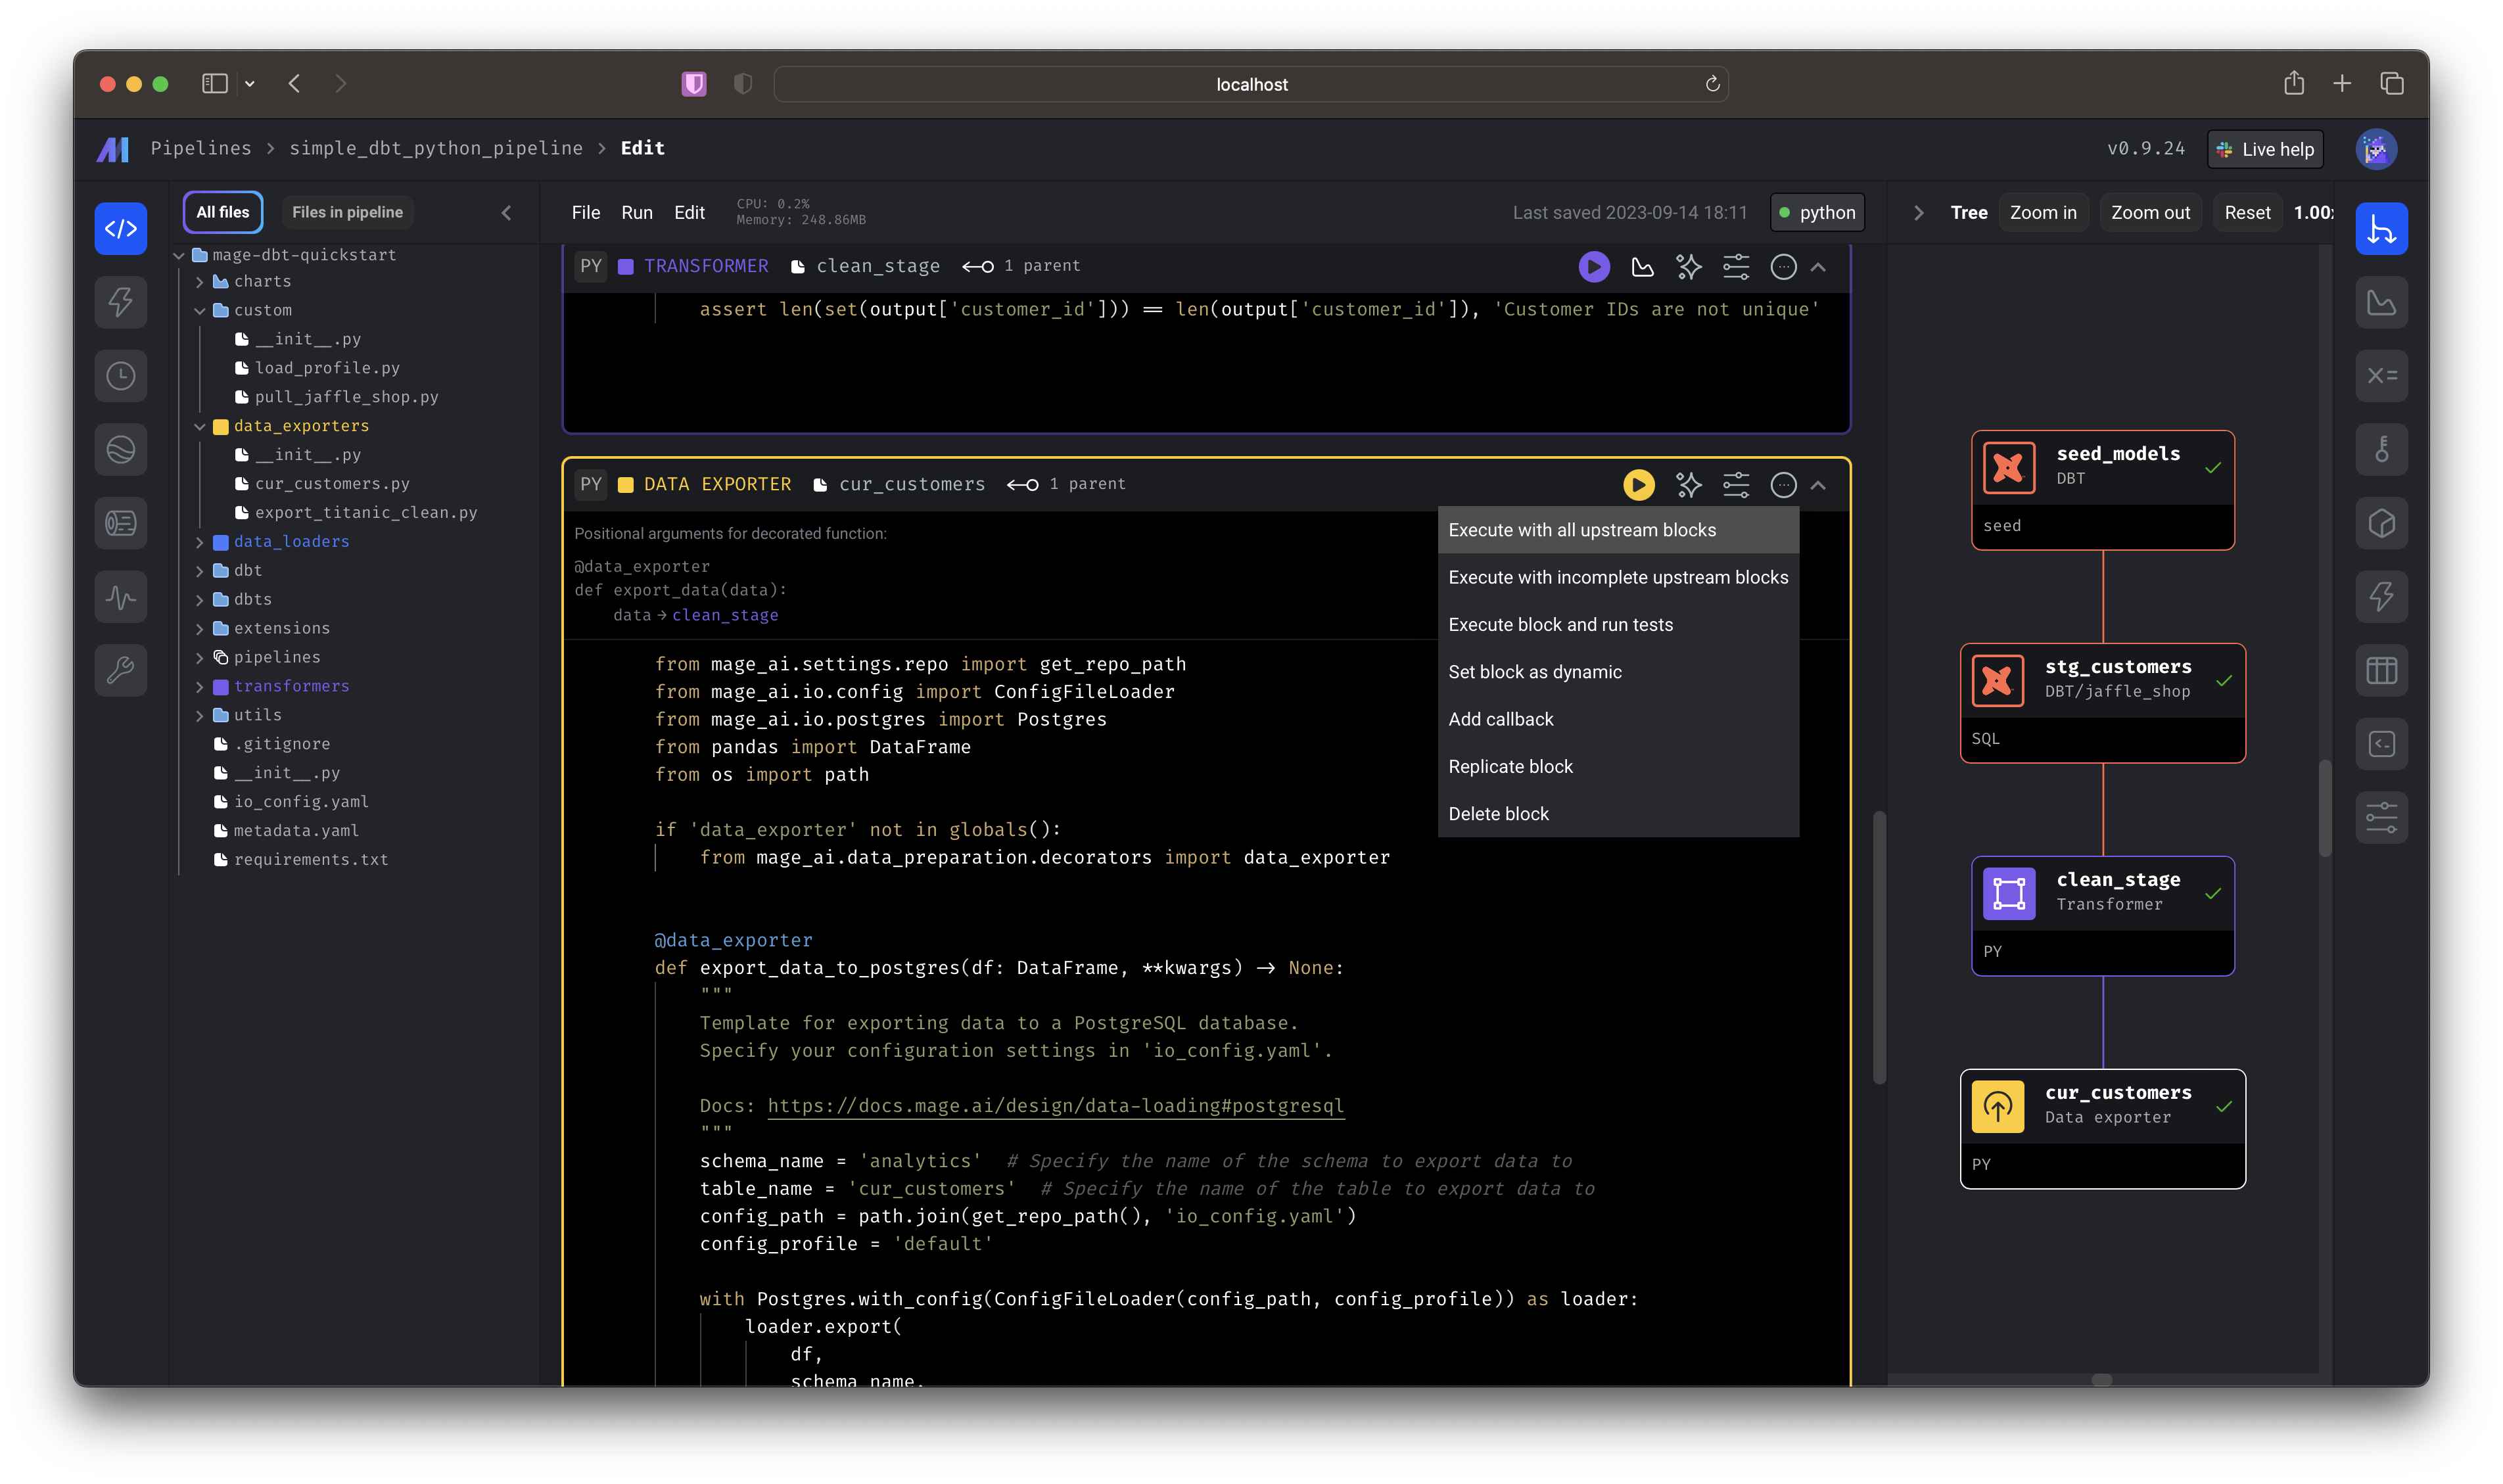 You just:
simple_dbt_python_pipeline by double-clicking the row from the list of pipelines this will take you directly to the editor. You can also single click,
then select the “code” icon from the side nav.Scroll to the bottom-most cell and click Execute with all upstream blocks.You just:- Seeded a dbt model
- Performed a dbt transformation
- Took the transformed data and performed a Python transformation
- Wrote the data to a Postgres source
public.analytics.cur_customers.| customer_id | first_name | last_name | letters_first_name | is_alliterative |
|---|---|---|---|---|
| 1 | Michael | P. | 7 | false |
| 2 | Shawn | M. | 5 | false |
| 3 | Kathleen | P. | 8 | false |
| 4 | Jimmy | C. | 5 | false |
| 5 | Katherine | R. | 9 | false |
| 6 | Sarah | R. | 5 | false |
| 7 | Martin | M. | 6 | true |
| 8 | Frank | R. | 5 | false |
| 9 | Jennifer | F. | 8 | false |
| 10 | Henry | W. | 5 | false |
Execute dbt from an external repo
Execute dbt from an external repo
Select the 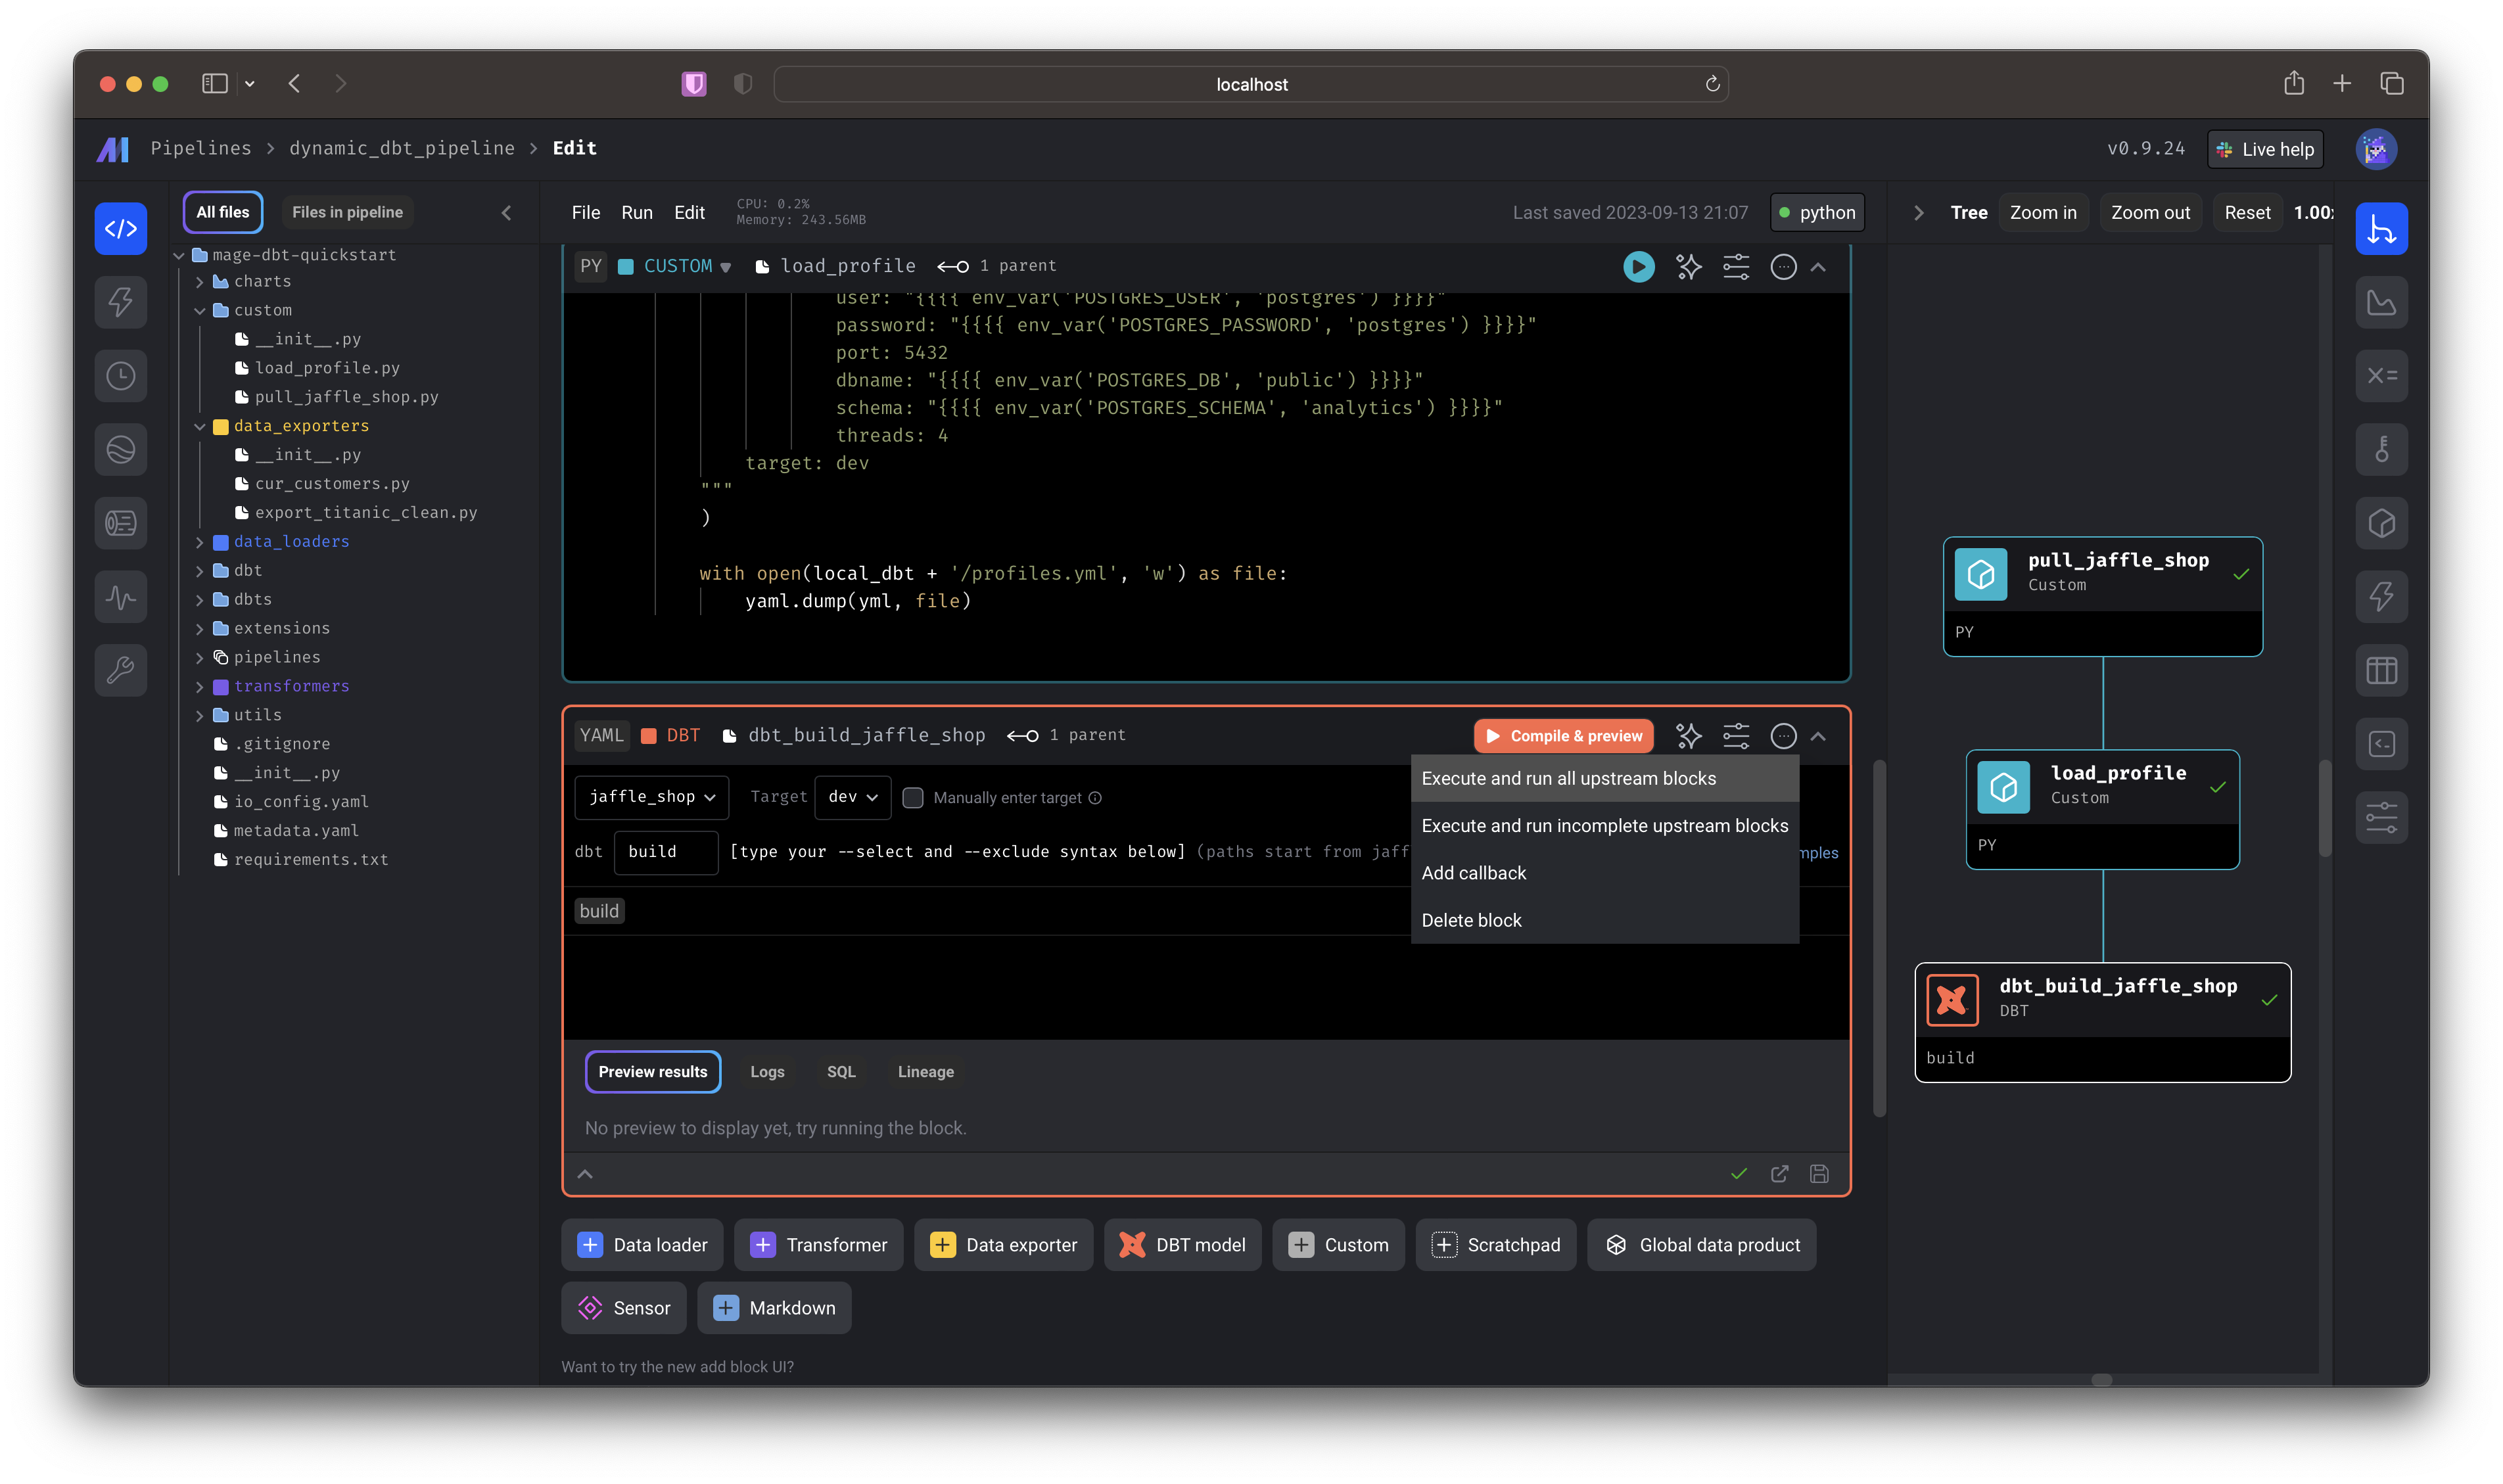 You just:
 Now, in addition to pulling the external Jaffle Shop demo and writing the necessary profiles, you’ll perform
dynamic_dbt_pipeline by double-clicking the row from the list of pipelines— this will take you directly to the editor. You can also single click, then select the “code” icon from the side nav.Scroll to the bottom-most cell and click Execute and run all upstream blocks.You just:- Pulled a GitHub repo and wrote it to your local Mage directory
- Wrote a demo
profiles.yamlfile that interpolated environment variables from your instance - Compiled
dbt buildto write data to your local postgres database.
Now, in addition to pulling the external Jaffle Shop demo and writing the necessary profiles, you’ll perform dbt build, which will: run models, test tests, snapshot snapshots, and seed seeds. 🥳To see the output, you can use a querying tool (like DataGrip or psql) to the locally hosted Postgres database. To learn more about the Jaffle Shop demo, check out the repo.