

Example
Here is an example of a transformer block with 2 tests:You can combine all your data validations into 1 test function or you can
split them up into multiple test functions. The benefit of splitting them up
is that they can run in parallel, speeding up the data validation.
Log output
Each test run is recorded and can be viewed in the logs. Here is an example:Data Quality with Great Expectations

Setup
-
Before adding expectations to your pipeline, please make sure you have at least 1
data loader, transformer, or data exporter block.
They must be Python blocks (SQL block support coming soon).
If you don’t have any blocks, add a data loader block and paste the following code:
For more expectations, read Great Expectation’s documentation.
- Add Great Expectations power up to your pipeline.
-
In the list of available power ups, click the option for Great Expectations.
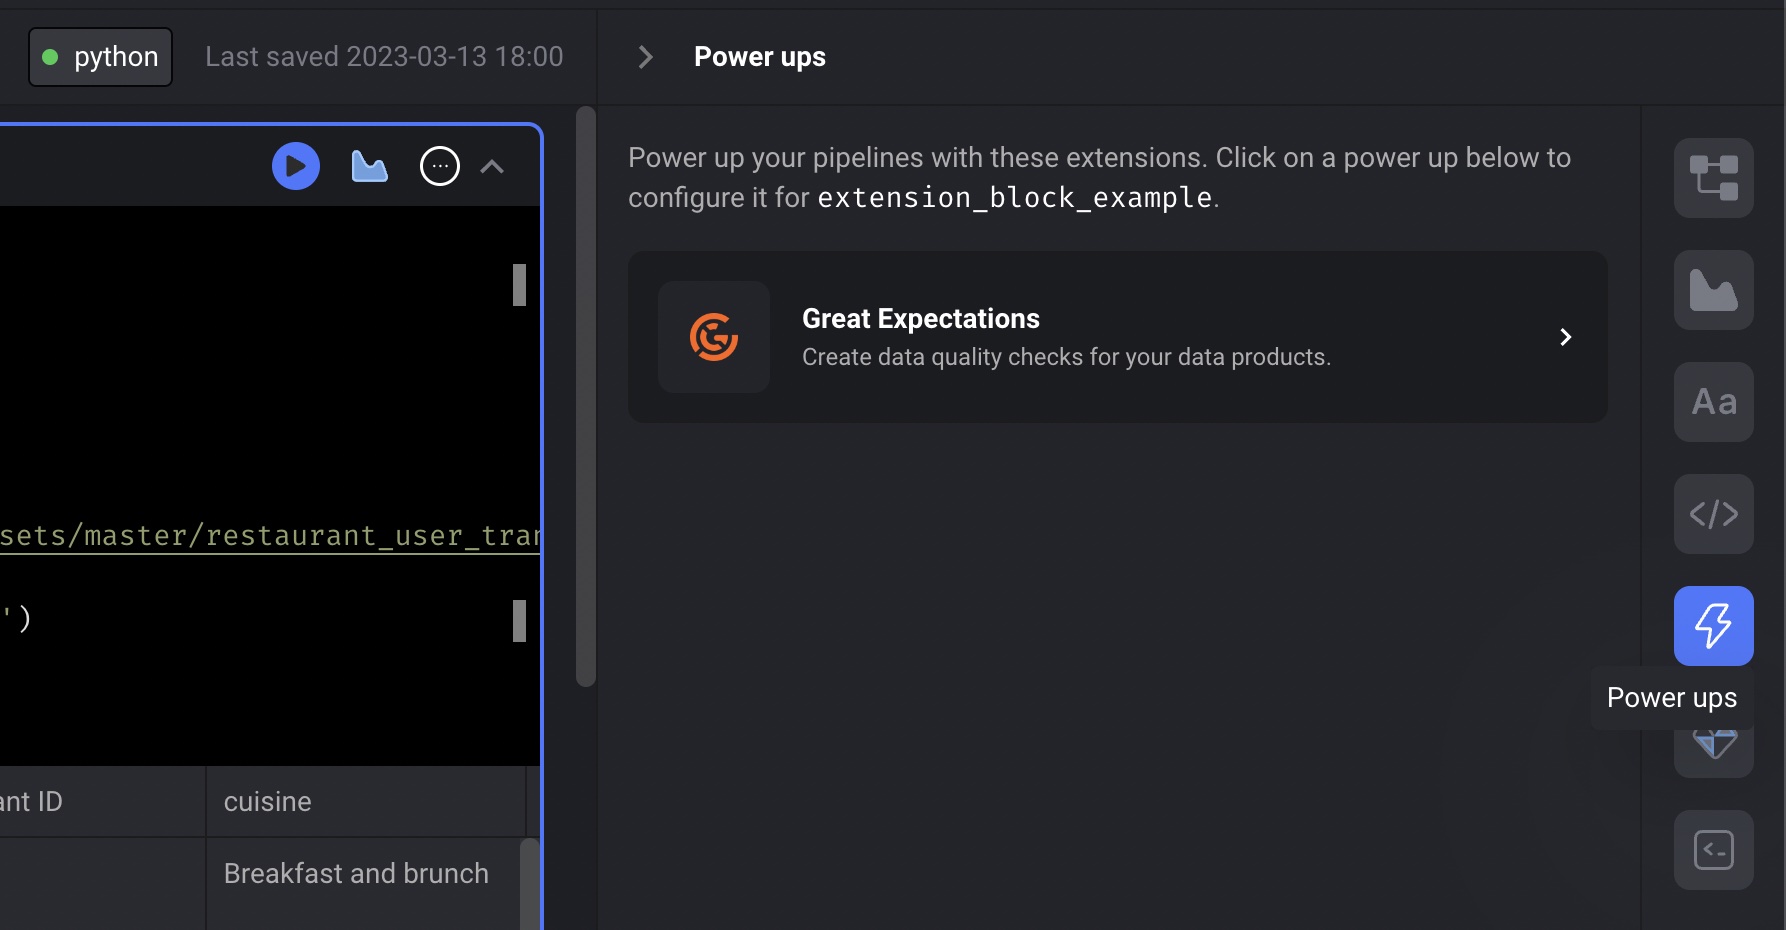
Adding expectations to your pipeline
- Once you’re on the Great Expectations power up detail page, you can add extension blocks to the current pipeline by clicking the button labeled [+ Extension block].
- In dropdown menu, click the template option labeled Empty template.
-
The Block name dialog may appear for the new extension block.
If it appears, enter
test number of rowsand click Save. -
Paste the following code in the extension block named
test number of rows:You can add expectations using code or from a JSON object. See section Defining expectations below for more details. - In the extension block near the bottom, click the input field that says “Select blocks to run expectations on”.
- Once you click that input field, a list of blocks from your pipeline will appear.
- Check the checkbox on the right side of the dropdown to associate that block to this extension block.
- Click the button labeled Save selected blocks.
-
After you save, a button that is labeled after the name of the block you just selected will appear.
For example, if your block is named
load_api_data_demo, then a button labeled load_api_data_demo will appear.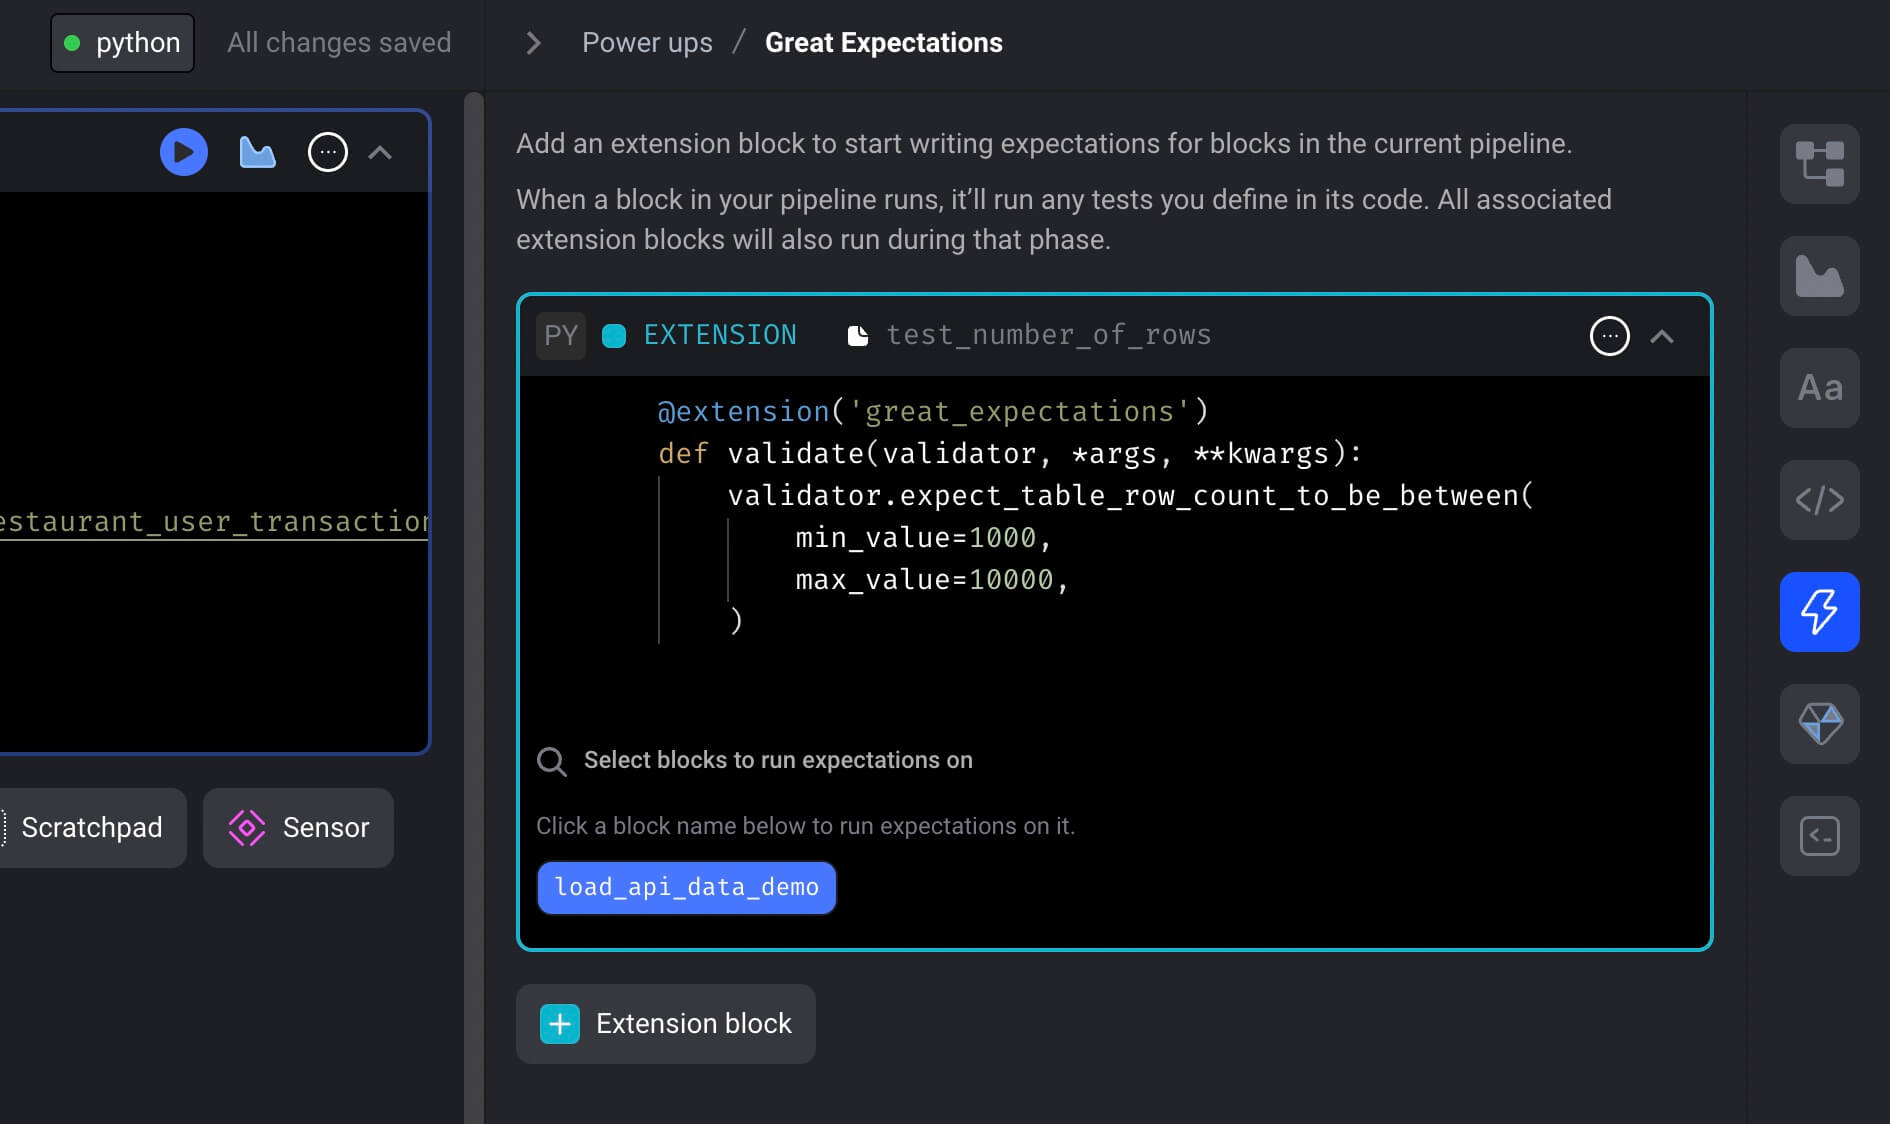
-
Click that button to run your extension block for the block
load_api_data_demo. -
The output should look something like this: