Mage Pro overview
After creating a Mage Pro account or logging into Mage Pro you are directed to the cluster management portal. Here you can manage your Mage clusters.Cluster Pages
- Creating a New Cluster:
- On the clusters page, you can create a new cluster by clicking the “Launch new cluster” button.
- Fill in the required field Cluster Name. Note that environment variables can be customized after the cluster is created.
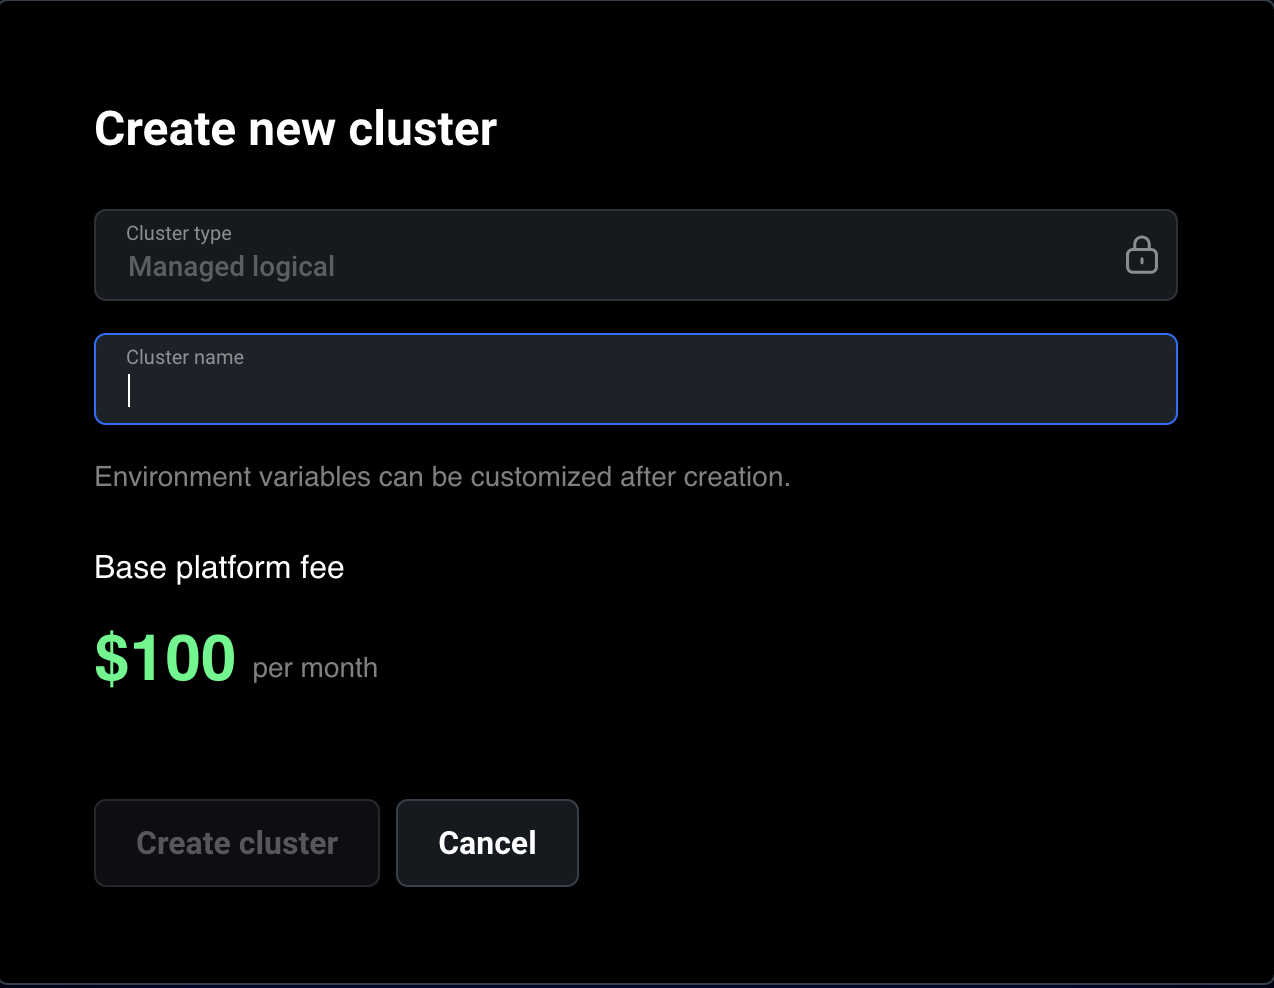
If you are in a free trial you are limited to a single cluster.
- Viewing Cluster List:
- The cluster list page provides an overview of all your clusters, displaying essential information such as the cluster status, ID, UUID, cloud provider, and the number of replicas.
- Cluster Details:
- Click the “Open cluster” button to view detailed information about the cluster. Here, you can see various metrics and statuses that help you monitor and manage your cluster effectively.
- Follow the environment variables documentation to customize your Mage Pro cluster.
Cluster login
- Accessing the cluster:
- Click the “Open cluster” button to navigate to the actual Mage cluster page. Here, you can interact with your cluster and use the Mage tool as you normally would.
- Currently, we use separate databases for each cluster for enhanced security. The users credentials in the Mage Pro cluster are managed inside the cluster. Use the default owner credentials (email: admin@admin.com, password: admin) to log in. After you login, you should either update the password of the default owner user or create your own owner user.
Credentials may differ from cluster portal. For initial setup use Email or username: admin@admin.com, Password: admin.
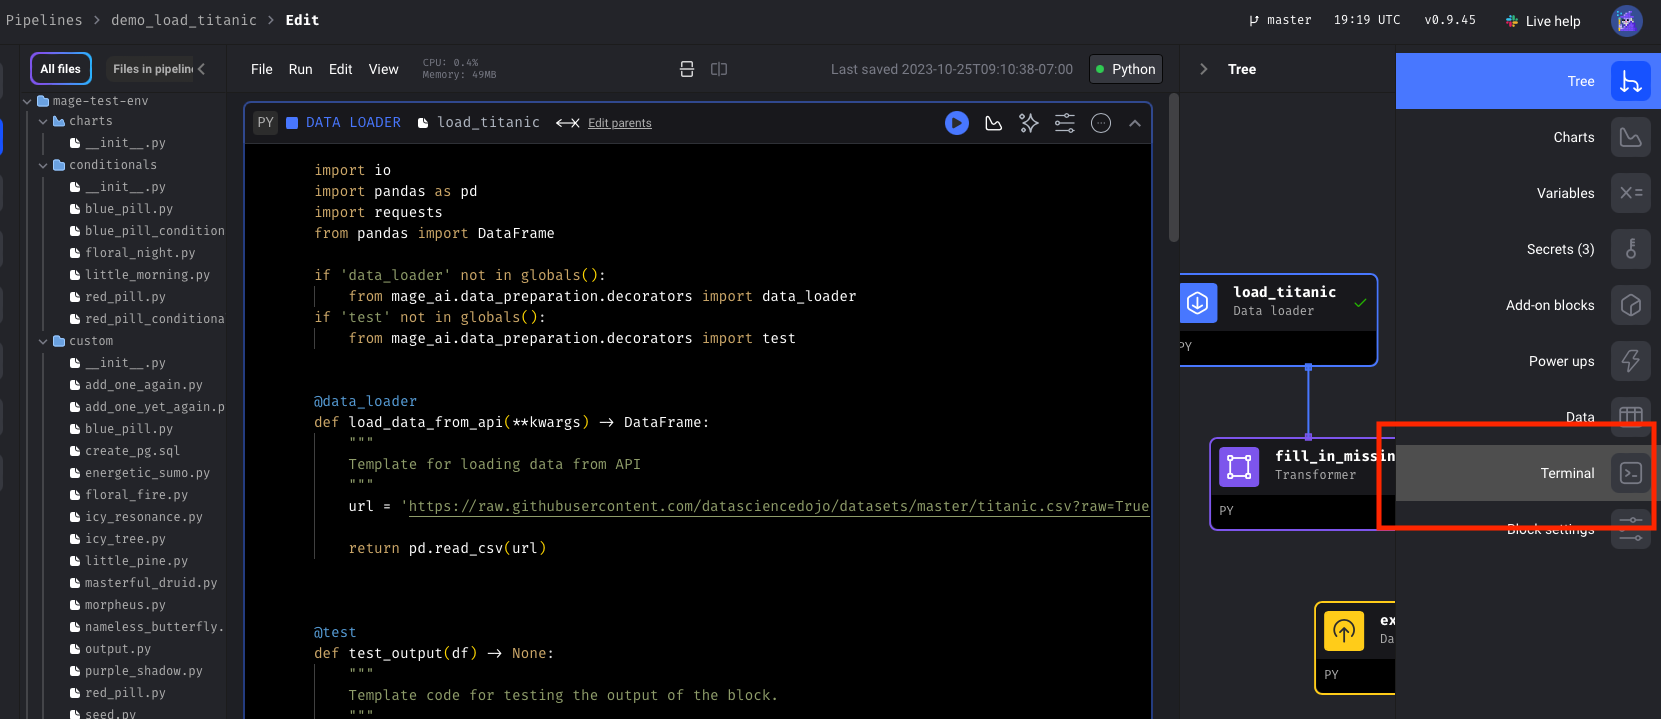
Run your first pipeline
- Step 1: From the pipeline editor page click the “New pipeline” button
- Step 2: Select a template for inspiration or start from scratch by clicking the “Start from scratch” button
- Step 3: Select your pipeline type and give it an optional new name, description, and tag
- Step 4: Click the create new pipeline button
- Step 5: Add your blocks by following the Youtube video below
⛵️ Mage OSS overview
We recommend using Docker to get started. Docker is a tool that allows you to run Mage in a containerized environment: you can run Mage on any operating system that supports Docker, including Windows, Mac, and Linux. Using Docker means that you don’t have to worry about installing dependencies or configuring your environment. If you’d like to install Mage without Docker, you can usepip or conda.
If you’re familiar with Docker Compose or plan on adding or extending images (e.g. Postgres) in your project, we recommend starting from the Docker compose template. Otherwise, we recommend Docker run.
🪄 Get Mage
Docker
Docker
Get started
First, be sure Docker is installed. Next, create a new folder for your project, change directory into that folder, and run the following from your terminal:http://localhost:6789 in your browser and explore! If using any cloud provider use external IP address with the port eg 123.456.78:6789. We recommend one of our guides for inspiration.What’s happening?
We’re executingdocker run, which runs a Docker container from the Mage image. additionally, we’re mounting a volume (the -v command) to persist our project files on our container. This mounts the current folder to /home/src in the mage container. We’re executing our docker image mageai/mageai and running a script to start up the container.Docker Compose
Docker Compose
Get started
The following is useful if you plan on customizing your image or adding additional services to a Docker network with Mage. Read more about Docker compose here.Be sure that Docker and Git are installed and run:http://localhost:6789 in your browser and explore! We recommend one of our guides to for inspiration.What’s happening?
We’re cloning our Docker Compose quickstart repo, copyingdev.env to .env, which is ignored by git in our configuration (to avoid exposing secrets), then running docker compose up to start a Mage server.pip/conda
pip/conda
1
Install Mage
2
Create new project and launch tool
3
Open Mage
Open http://localhost:6789 in your browser.
Kubernetes
Kubernetes
1
Start a Kubernetes cluster locally
Enable Kubernetes in Docker Desktop to start a Kubernetes cluster locally. Other options for starting a Kubernetes cluster locally are Kind and Minikube
2
Download and update Kubernetes config file
First, download the Mage Kubernetes config file here.
Then, replace the
/path/to/mage_project in the config yaml with the path that you want to use to store your Mage projects.3
Run Mage app in Kubernetes cluster
Install the command line tool, kubectl, if you haven’t already.
Run the command
kubectl create -f kube/app.yaml to run Mage in a Kubernetes pod. You can check the pod status with command kubectl get pods -o wide.
Set up port forwarding with command kubectl port-forward mage-server 6789:6789.4
Open Mage
Open http://localhost:6789 in your browser.
Default login credentials
Starting with Mage OSS v0.9.78 and above, and in Mage Pro, user authentication is enabled by default. When you first start Mage, the default login credentials are:
⚠️ Important: After logging in for the first time, we strongly recommend changing the default password or creating new user accounts for your team. See User authentication for more details.
🏃♂️ Run your first pipeline
If you haven’t already, open a browser tohttp://localhost:6789. From the pipelines page, select example_pipeline and open the notebook view by selecting Edit pipeline from the left side nav.
🤔 What's a block?
🤔 What's a block?
Blocks are just Python files that live in your project. You can navigate through your blocks on the left side of the screen, drag and drop them into your pipeline, or create new ones from the pipeline editor.Blocks are reusable, atomic pieces of code that perform certain actions. Changing one block will change it everywhere it's used, but don't worry, it's easy to detach blocks to separate instances if necessary.Blocks can be used to perform a variety of actions, from simple data transformations to complex machine learning models. You can even use blocks to run custom code, or to connect to external services.Within a block, the decorated function (Other code outside the block will be executed, but it will not be returned. You can read more about blocks here.
custom, loader, transformer, etc) will be executed. The first argument to the function must be a dataframe or JSON serializable object. The function can return a dataframe or JSON serializable object, or it can return nothing.You can think of this function like a python main() function, when we run the block, this function will be executed. For example, the following block will return the first 10 rows of the dataframe passed in:🧙🏻♂️ Install Mage dependencies (optional)
Mage also has the following add-on packages:
To install these, run the following command from the Mage terminal:
requirements.txt file:
requirements.txt here.