This tutorial requires that you already have Airflow setup and running
locally.
1
Add `mage-ai` as a dependency in Airflow
Open the
requirements.txt file in the root directory of your Airflow project,
and add the mage-ai library:3
Initialize Mage project
Change directory into your Airflow’s DAGs folder. This is typically in the
folder Then, initialize a new Mage project in the If you used pip to install Mage, run the following command in the Once finished, you should have a folder named
dags/.dags/ folder.If you’re using Docker, run the following command in the dags/ folder:dags/
folder:demo_project inside your dags/
folder.Your current folder structure should look like this:4
Create one-time DAG for pipelines
In the
dags/ folder, create a new file named create_mage_pipelines.py.Then, add the following code:5
Create pipeline
Start Mage
In thedags/ folder, start the Mage tool.If you’re using Docker, run the following command in the dags/ folder:dags/
folder:6
Add a block
Follow steps 1, 2, and 4 in this tutorial to create
a new pipeline, add 1 data loader block, and add 1 transformer block.
7
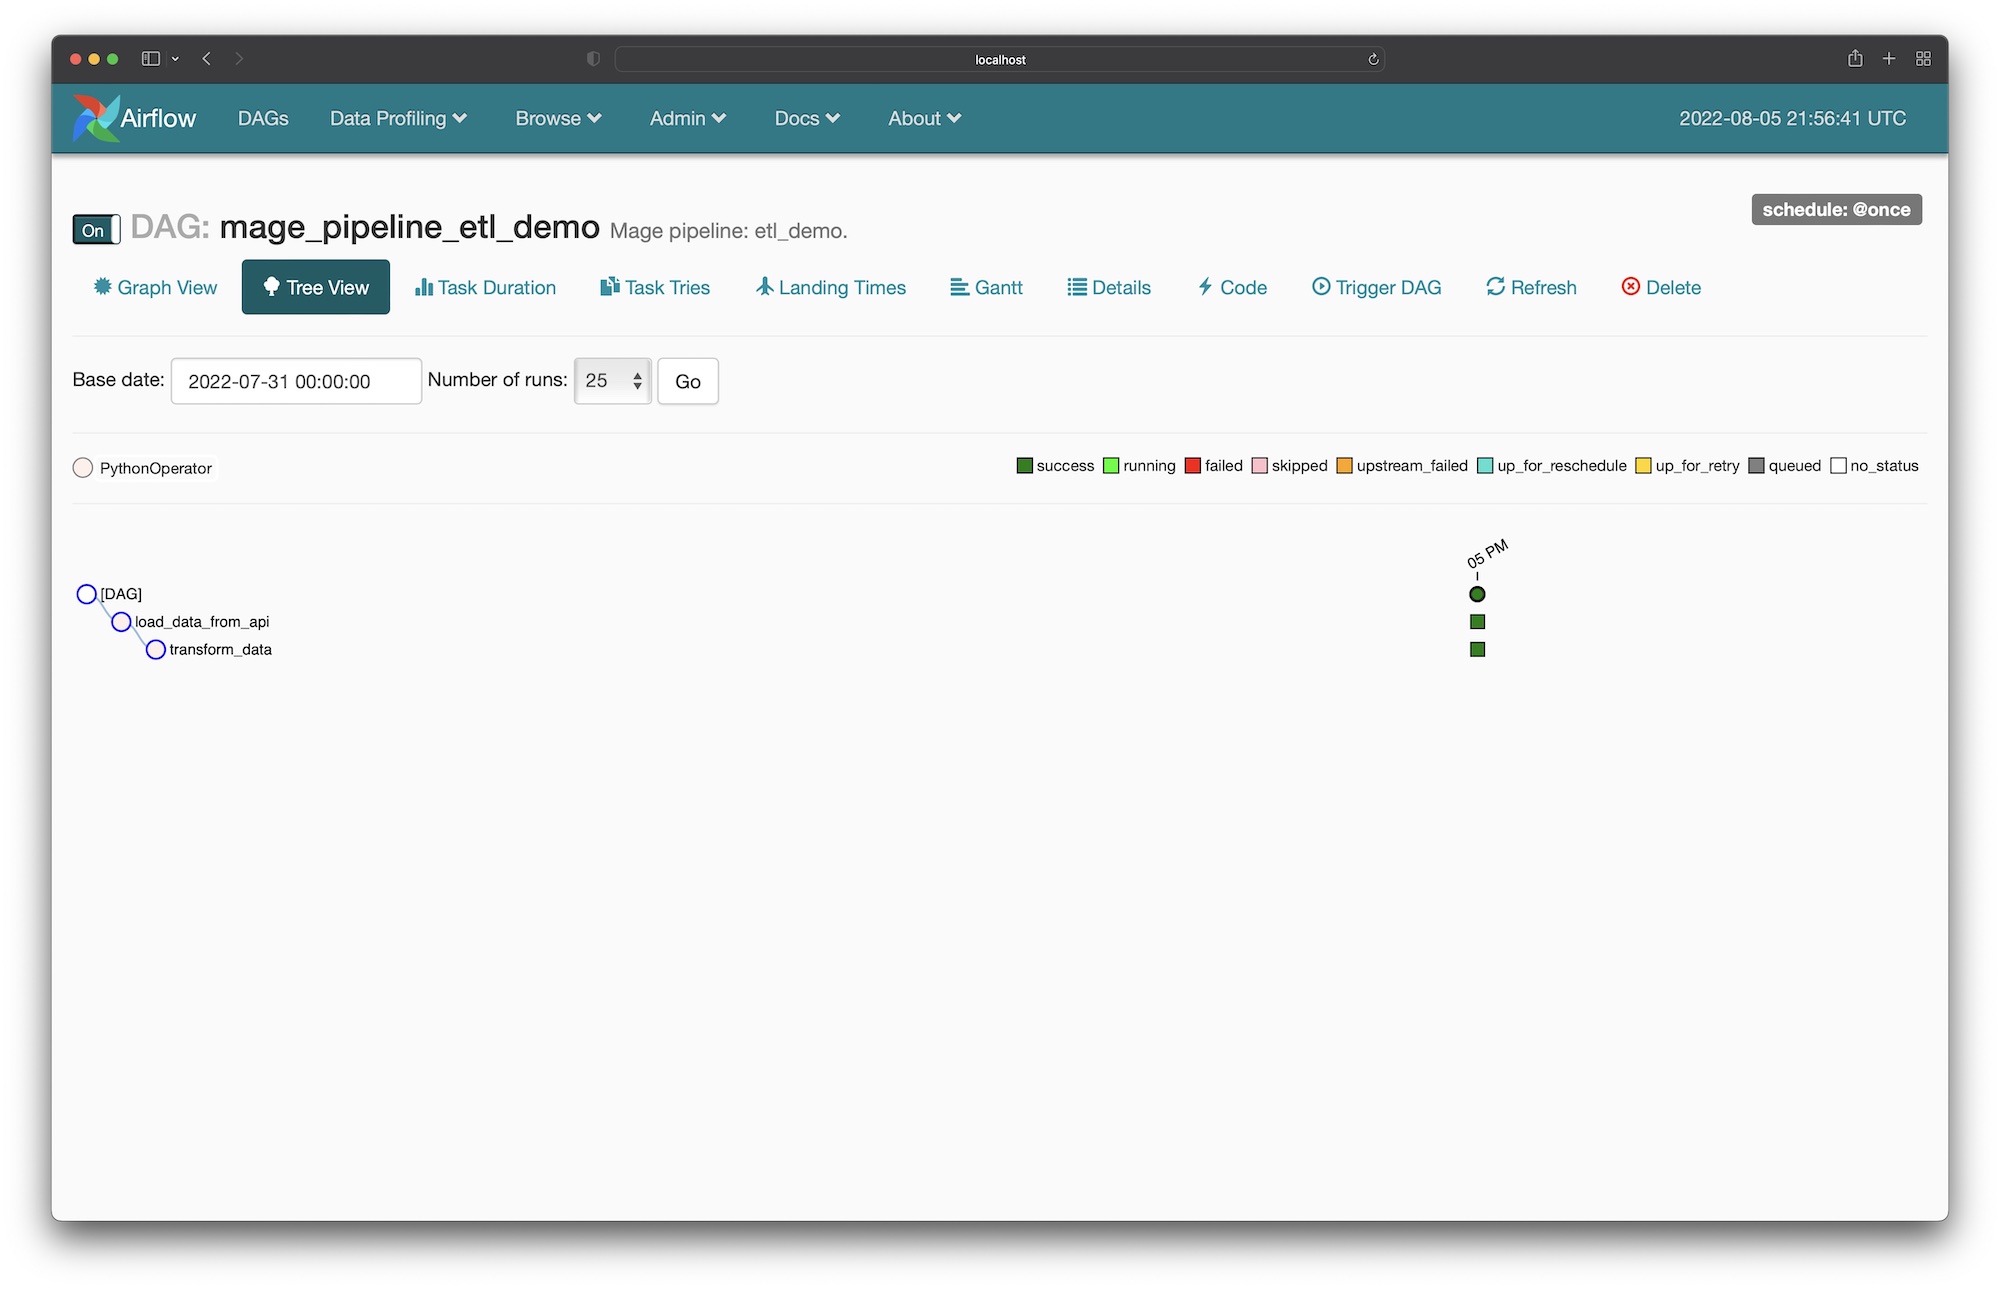
Run DAG in Airflow for pipeline
- Open the Airflow webserver UI at http://localhost:8080 in your browser.
- If you named your pipeline
etl demobased on the tutorial from the previous step, then find a DAG namedmage_pipeline_etl_demo. If you named it something else, find a DAG with the prefixmage_pipeline_. - Click on the DAG to view the detail page. The URL could typically be this: http://localhost:8080/admin/airflow/tree?dag_id=mage_pipeline_etl_demo.
- Turn that DAG on if its currently off.
- Trigger a new DAG run.
- Watch the DAG as it runs each task according to the pipeline you created in Mage.