> ## Documentation Index
> Fetch the complete documentation index at: https://docs.mage.ai/llms.txt
> Use this file to discover all available pages before exploring further.
# Role-based access controls (RBAC)
> Create user defined permissions for CRUD operations on any action or user experience. Add permissions to roles and add roles to users.
export const urls = {
chat: 'https://www.mage.ai/chat',
oss: 'https://www.mage.ai/oss',
pro: 'https://cloud.mage.ai/sign-up'
};
export const ProOnly = ({button = 'Get started for free', description = 'Try our fully managed solution to access this advanced feature.', source = 'documentation', title = 'Only in Mage Pro.'}) =>
;
export const ProButton = ({href, label = 'Get started with Mage Pro for free', source = 'documentation'}) => ;
export const ProBanner = ({button = 'Try Mage Pro for free', description, source = 'documentation', title = 'Our fully managed solution for teams is now available!'}) =>
{title}
{description &&
}
{description &&
{description}
}
;

## Overview
Define roles with 1 or more permissions.
Each permission can grant or deny read and write operations on
specific resources (e.g. API endpoints).
One or more roles can be assigned to 1 or multiple users.
### Why is this important?
Control which user can perform specific actions at a granular level.
## Features
* Define roles.
* Define permissions.
* Add permissions to 1 or more roles.
* Add roles to 1 or more users.
***
## How to use
### Create roles
You must be the owner or have a role that grants permissions to read and write on the following
entities:
* `Permission`
* `Role`
* `RolePermission`
* `UserRole`
* `User`
1. Go the the Mage project settings and click on the navigation row labeled Roles.
2. On the roles list page, there is a button labeled Create default roles and permissions.
If you click this button, 6 roles and a few hundred permissions will be created.
The roles are:
* Admin default permissions
* Editor default permissions
* Editor with notebook edit access
* Editor with pipeline edit access
* Owner default permissions
* Viewer default permissions
Each role will have a set of permissions that match the Mage API policies that are normally
used to authenticate operations when the user authentication feature is turned on but
the user permissions feature is turned off.
3. Alternatively, click the button Add new role to create a single new role.
4. Enter in a unique name for the role.
5. Click the button Create new role to save the role.
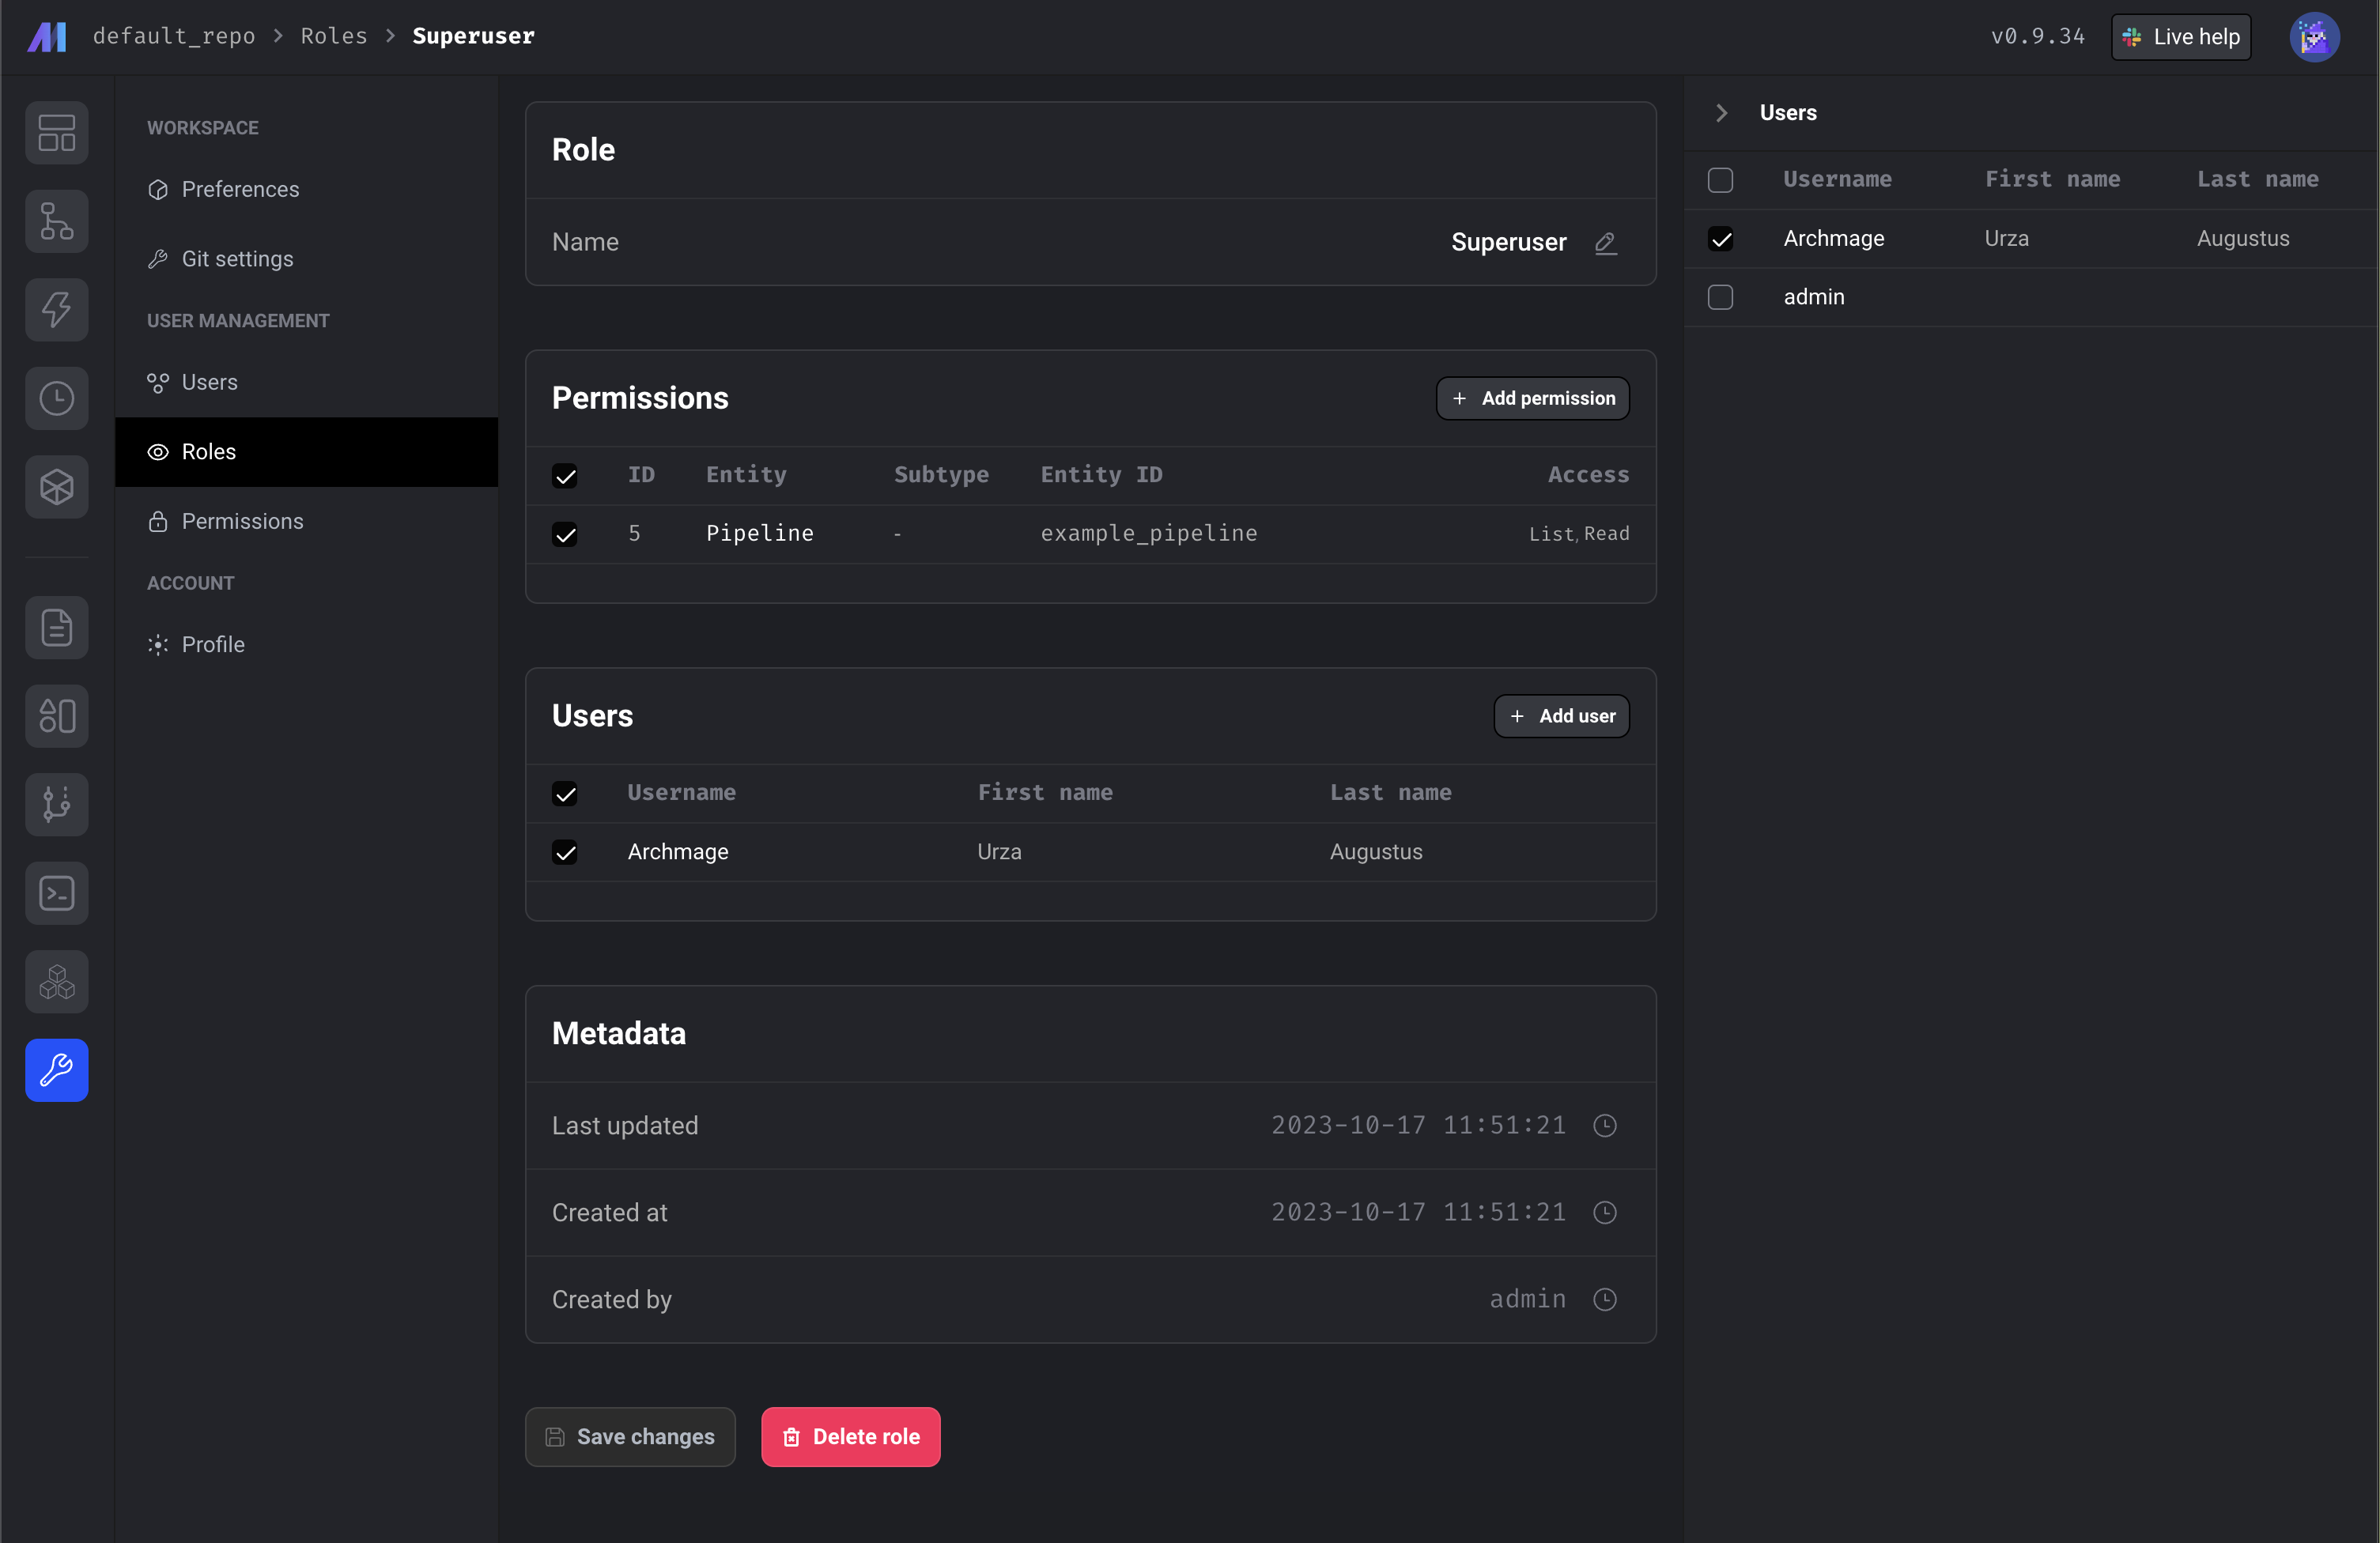
6. Once you create the role, you’ll be taken to the role detail page.
7. From here, you can add existing permissions to the role.
8. From here, you can add existing users to the role. This will grant permissions or
deny operations for user.
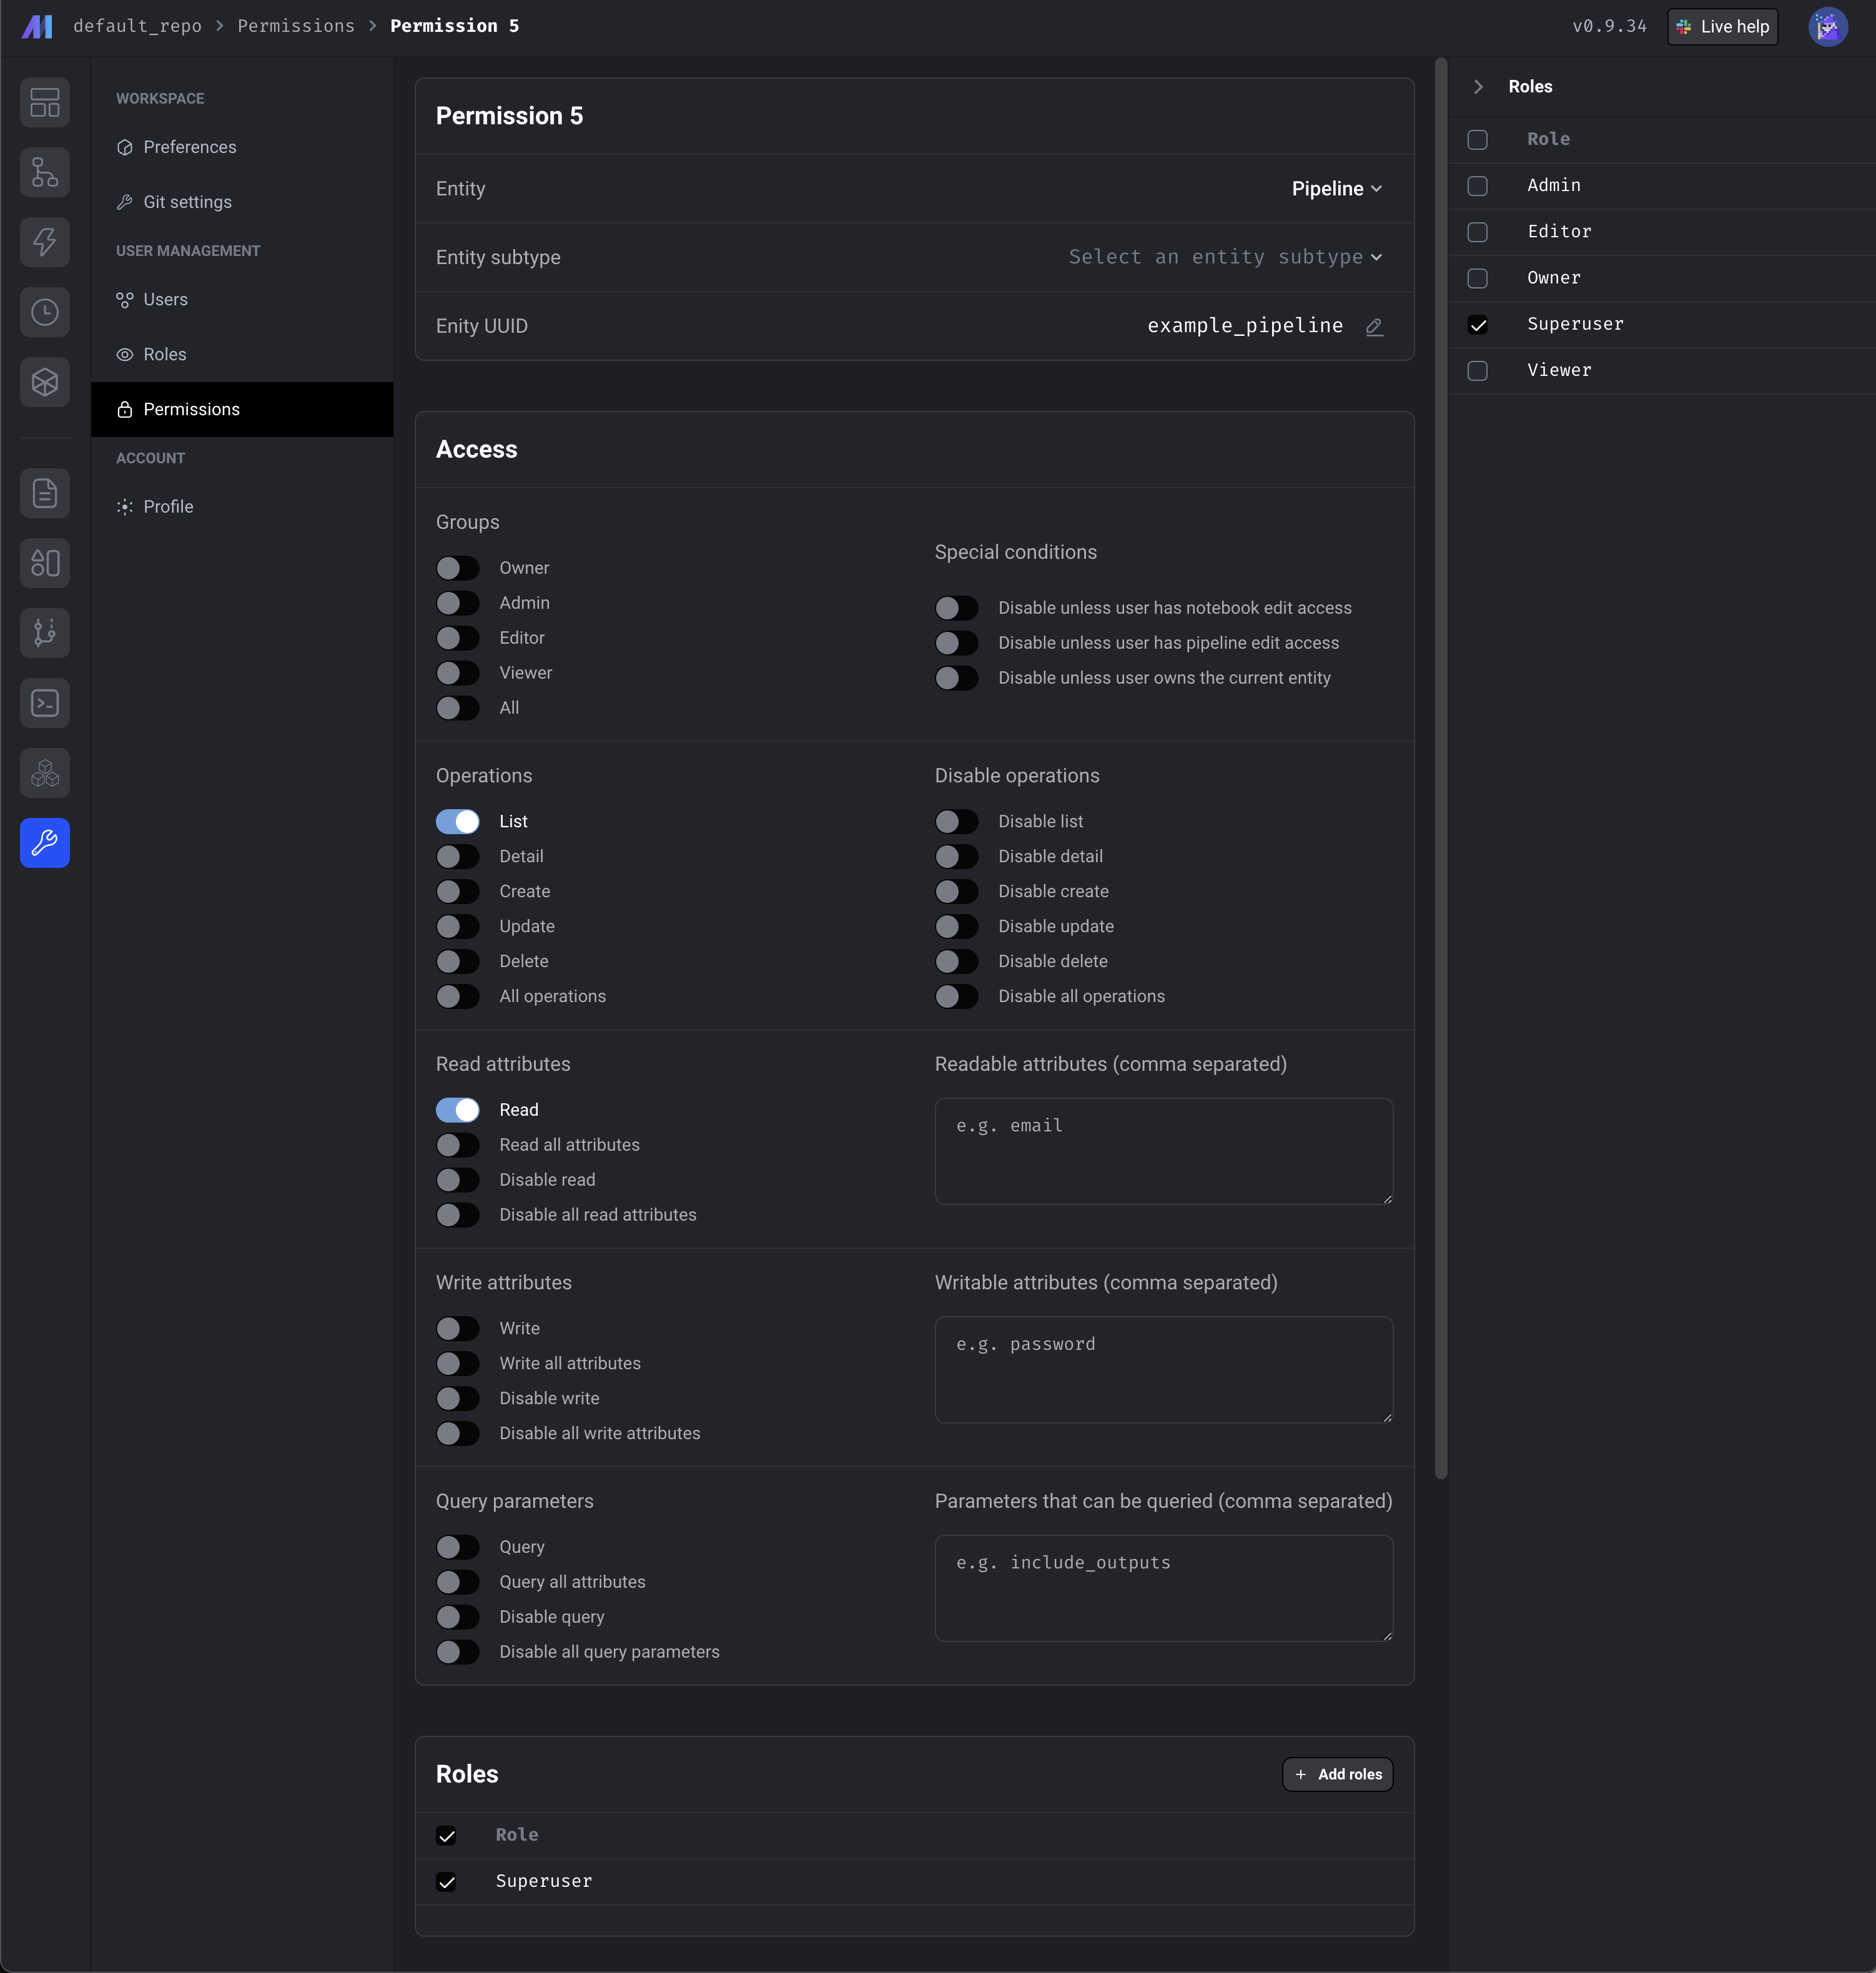
### Create permissions
1. Go the the Mage project settings and click on the navigation row labeled Permissions.
2. Click the button Add new permission to create a new permission.
3. Select an entity that these permissions will be applied to.
An entity refers to a defined API endpoint that currently exists in the Mage application.
For example, the entity `Pipeline` applies to the API endpoints `/pipelines`.
4. Optionally enter an entity UUID that these permissions are applied to.
For example, you can grant or deny permissions to a specific pipeline by selecting the entity
`Pipeline` and entering the entity `UUID` `example_pipeline`.
This permission will only be applied to the pipeline with the UUID `example_pipeline`.
5. Under the section labeled Access, toggle 1 or more accesses to grant.
For more information on what each access grants or denies,
read the [permissions documentation](/authentication/permissions/permissions).
6. Click the button Create new permission to save the permission.
7. Once you create the role, you’ll be taken to the role detail page.
8. From here, you can edit the permission.
9. From here, you can add this permission to existing roles.
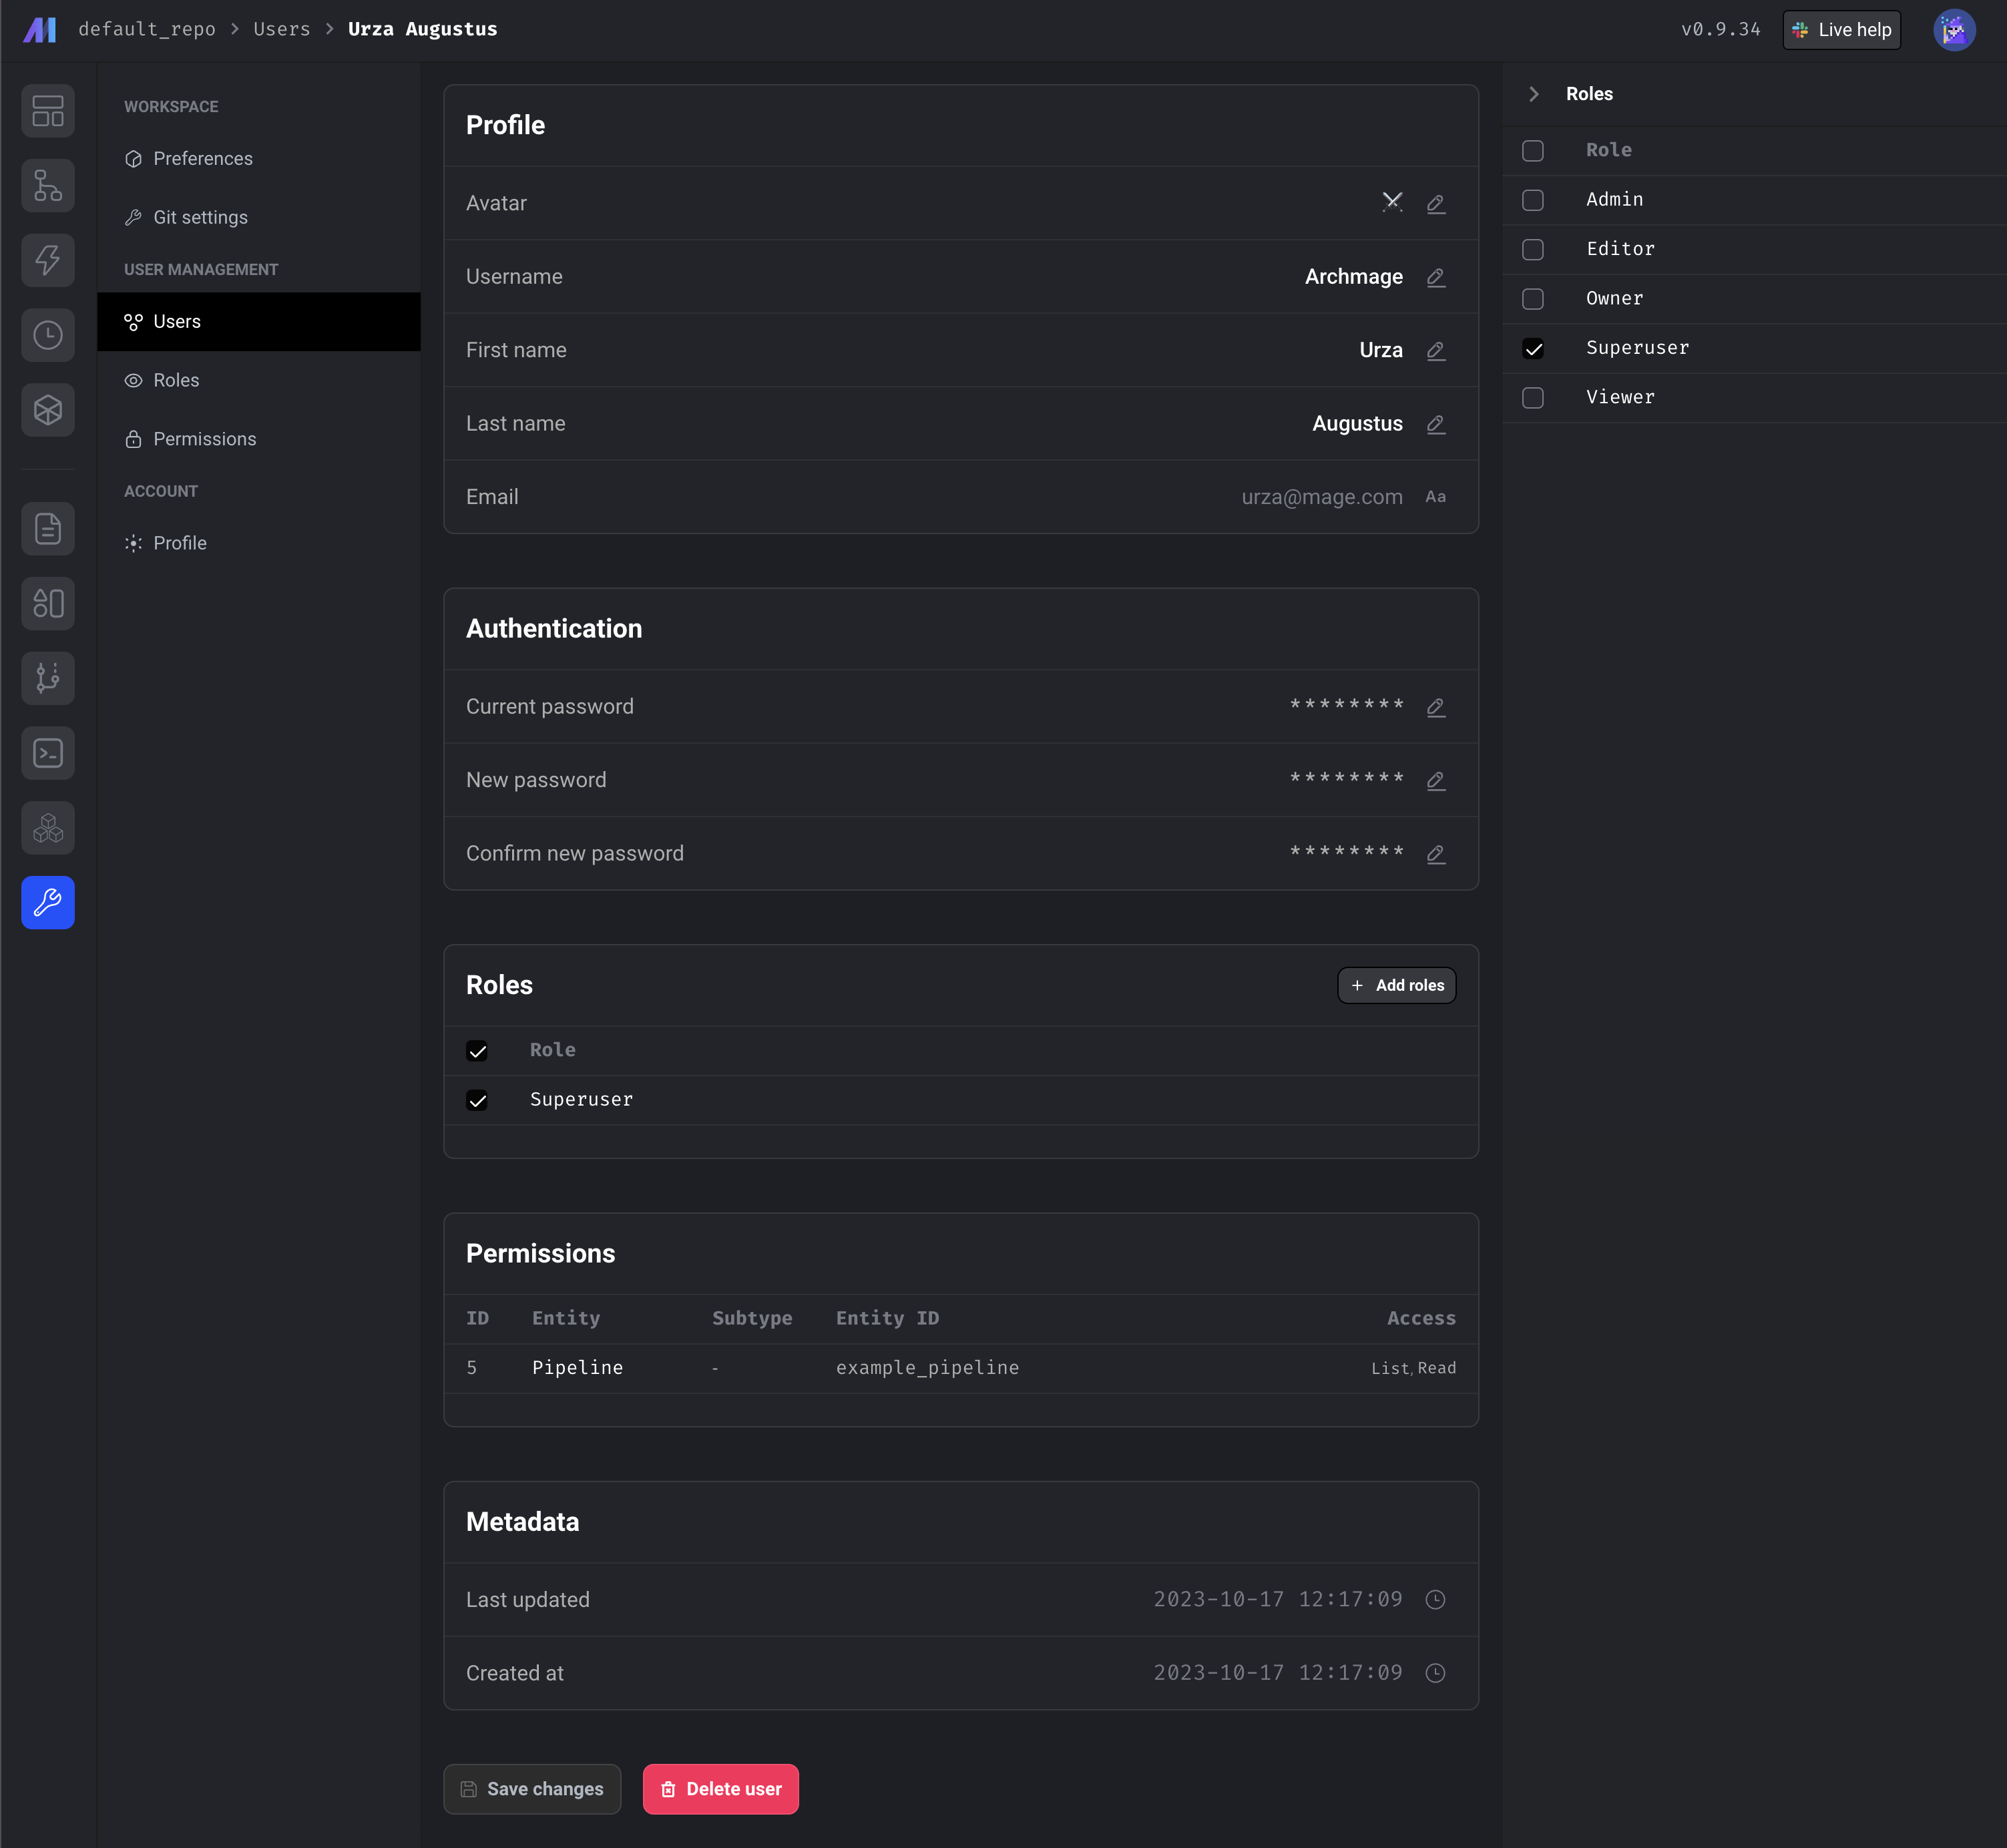
### Assign roles to users
1. Go the the Mage project settings and click on the navigation row labeled Users.
2. Click on a row for an existing user.
3. From here, you can assign existing roles to the user.
4. Alternatively, you can add a user to a role by following these steps:
1. Go to the [roles list page](http://localhost:6789/settings/workspace/roles).
2. Click on a row for an existing role.
3. Click the button labeled +Add user.
4. Select 1 or more users to assign this role to.